How to Build Forms in Next.js: 7 Easy Steps for Beginners
Learn how to Build Forms in Next.js step-by-step with validation, state management, API integration, and styling.
Forms are the backbone of every web application. Whether it’s a signup page, contact form, or checkout process, forms allow users to interact with your product. If you are working with Next.js, you’ll need to know how to create responsive and functional Build Forms in Next.js the right way.
In this tutorial by Nexotips Infotech, we’ll guide you through 7 easy steps to build forms in Next.js. By the end, you’ll understand how to structure forms, handle input fields, add validation, and connect them with your backend.
Let’s dive in!
Table of Contents
Understanding Why You Should Build Forms in Next.js
Before jumping into the steps, let’s understand why building forms in Next.js is slightly different from plain React.
- Next.js supports server-side rendering (SSR), which means form data can be handled more efficiently.
- You can use both API routes and server actions to process form submissions.
- With libraries like React Hook Form or Formik, form handling becomes faster and cleaner.
At Nexotips Infotech, we recommend starting with simple forms before moving on to advanced validation.
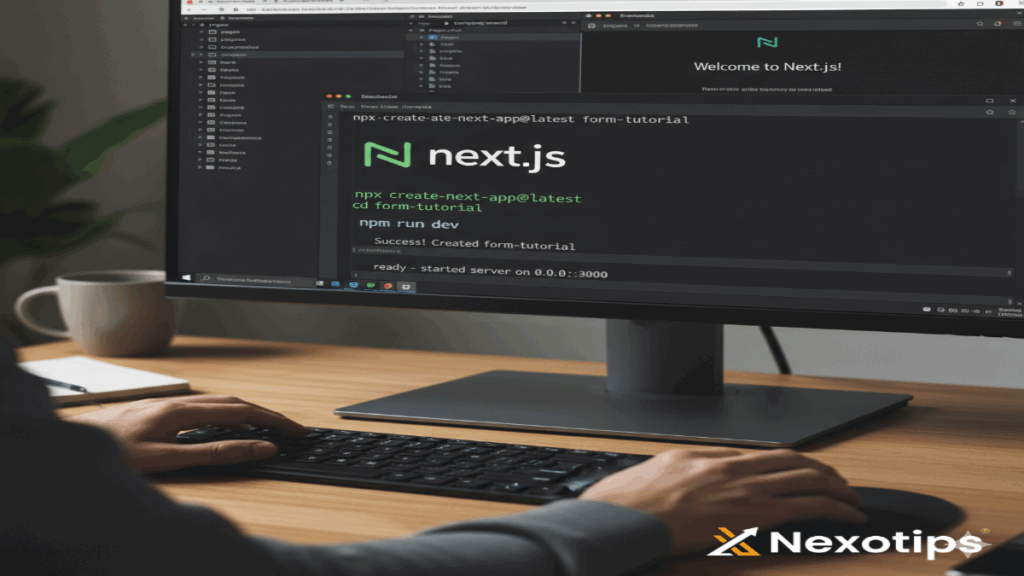
Step 1: Setting Up a New Next.js Project

First, create a new Next.js app using the following command:
npx create-next-app@latest form-tutorial
cd form-tutorial
npm run dev
This sets up a fresh project where we can start working on our form.
👉 For more details, check the official Next.js Documentation.
Step 2: Creating a Simple Build Forms in Next.js
Inside your app or pages folder, create a component called ContactForm.js.
"use client";
import { useState } from "react";

export default function ContactForm() {
  const [formData, setFormData] = useState({ name: "", email: "" });

  const handleChange = (e) => {
    setFormData({ ...formData, [e.target.name]: e.target.value });
  };

  return (
    <form>
      <input type="text" name="name" placeholder="Enter your name" onChange={handleChange} />
      <input type="email" name="email" placeholder="Enter your email" onChange={handleChange} />
      <button type="submit">Submit</button>
    </form>
  );
}
This simple form collects name and email input.
Step 3: Managing State with useState and useForm
You can handle form state manually useState, but a better way is to use React Hook Form. Install it with:
npm install react-hook-formThen update your form:
import { useForm } from "react-hook-form";

export default function ContactForm() {
  const { register, handleSubmit } = useForm();

  const onSubmit = (data) => {
    console.log(data);
  };

  return (
    <form onSubmit={handleSubmit(onSubmit)}>
      <input {...register("name")} placeholder="Enter your name" />
      <input {...register("email")} placeholder="Enter your email" />
      <button type="submit">Submit</button>
    </form>
  );
}
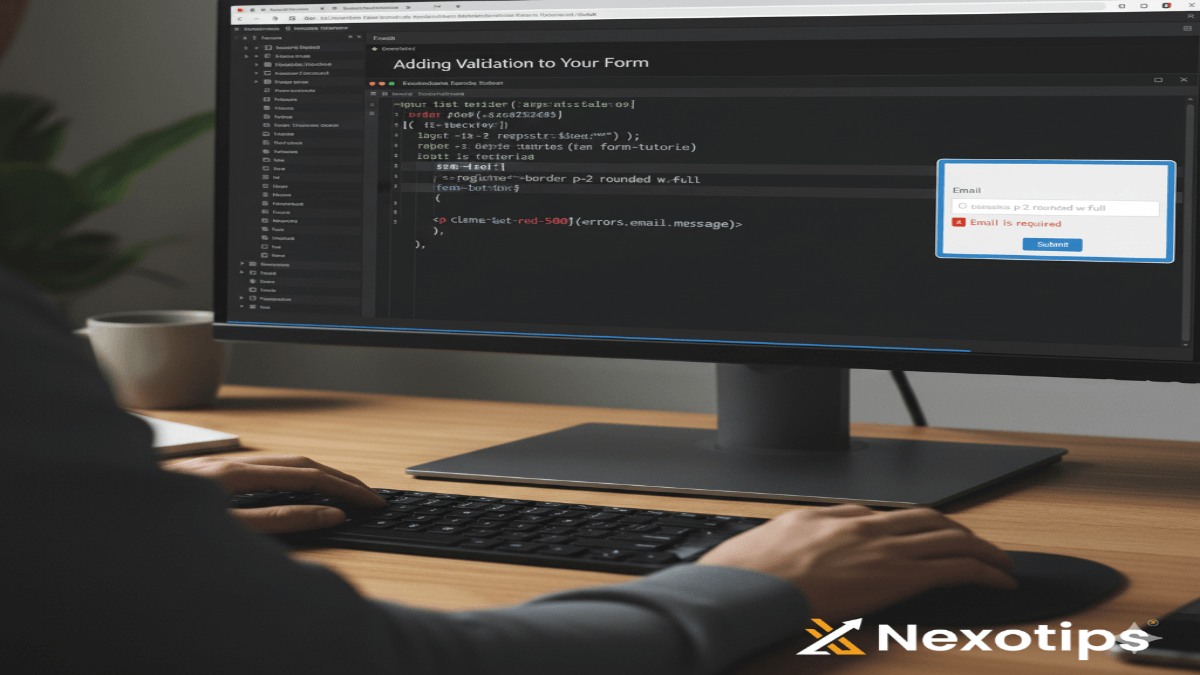
Step 4: Adding Validation to Your Form

Validation ensures users enter the correct information. With react-hook-form You can add rules:
<input {...register("email", { required: true, pattern: /^\S+@\S+$/i })} />This checks if the email is valid before submitting.
Step 5: Handling Form Submission
When the user submits the form, you can send the data to your backend API. In Next.js, create an API route inside. pages/api/submit.js:
export default function handler(req, res) {
  if (req.method === "POST") {
    const { name, email } = req.body;
    res.status(200).json({ message: `Hello ${name}, form received!` });
  }
}
Now your form can talk to the backend.
Step 6: Connecting Forms to an API
Update your form submission logic to call this API:
const onSubmit = async (data) => {
  const res = await fetch("/api/submit", {
    method: "POST",
    headers: { "Content-Type": "application/json" },
    body: JSON.stringify(data),
  });
  const result = await res.json();
  alert(result.message);
};
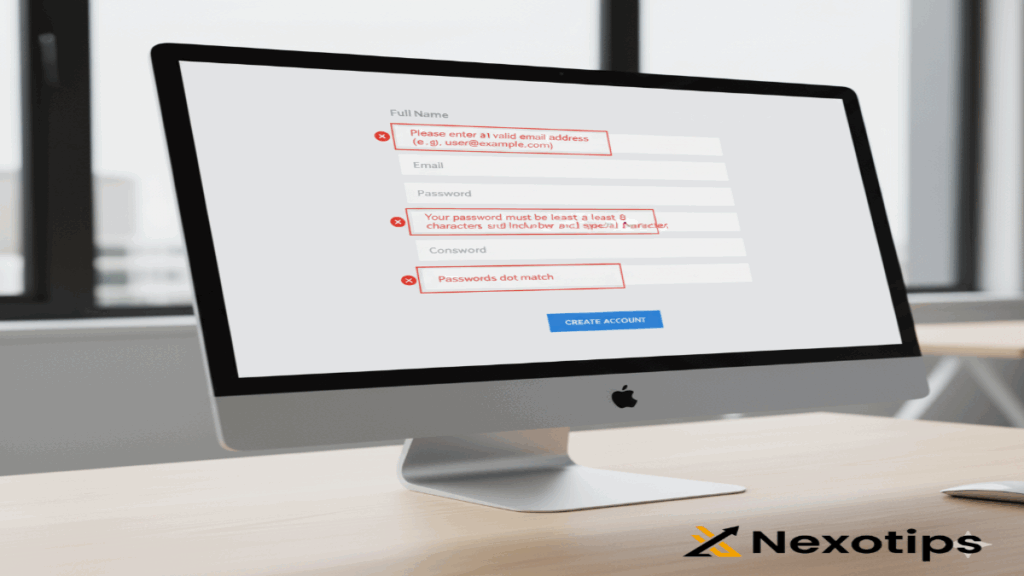
Step 7: Improving UX with Styling & Error Messages

A plain form isn’t enough. Use Tailwind CSS or Bootstrap to style your form for a better user experience.
Example with Tailwind:
<input
  className="border p-2 rounded w-full"
  {...register("email", { required: "Email is required" })}
/>
{errors.email && <p className="text-red-500">{errors.email.message}</p>}
This gives your form a clean look and displays error messages when input is invalid.
Conclusion
Learning how to build forms in Next.js is essential for every web developer. With these 7 easy steps from Nexotips Infotech, you now know how to set up a project, create a form, manage state, add validation, handle submissions, and improve the user experience.
If you’re new to Next.js, start small and gradually enhance your forms with advanced features like file uploads, dynamic fields, and third-party integrations.
👉 Also read our guide: Nexotips blog.
By practicing these steps, you’ll be able to create professional and user-friendly forms that make your Next.js applications shine. 🚀
